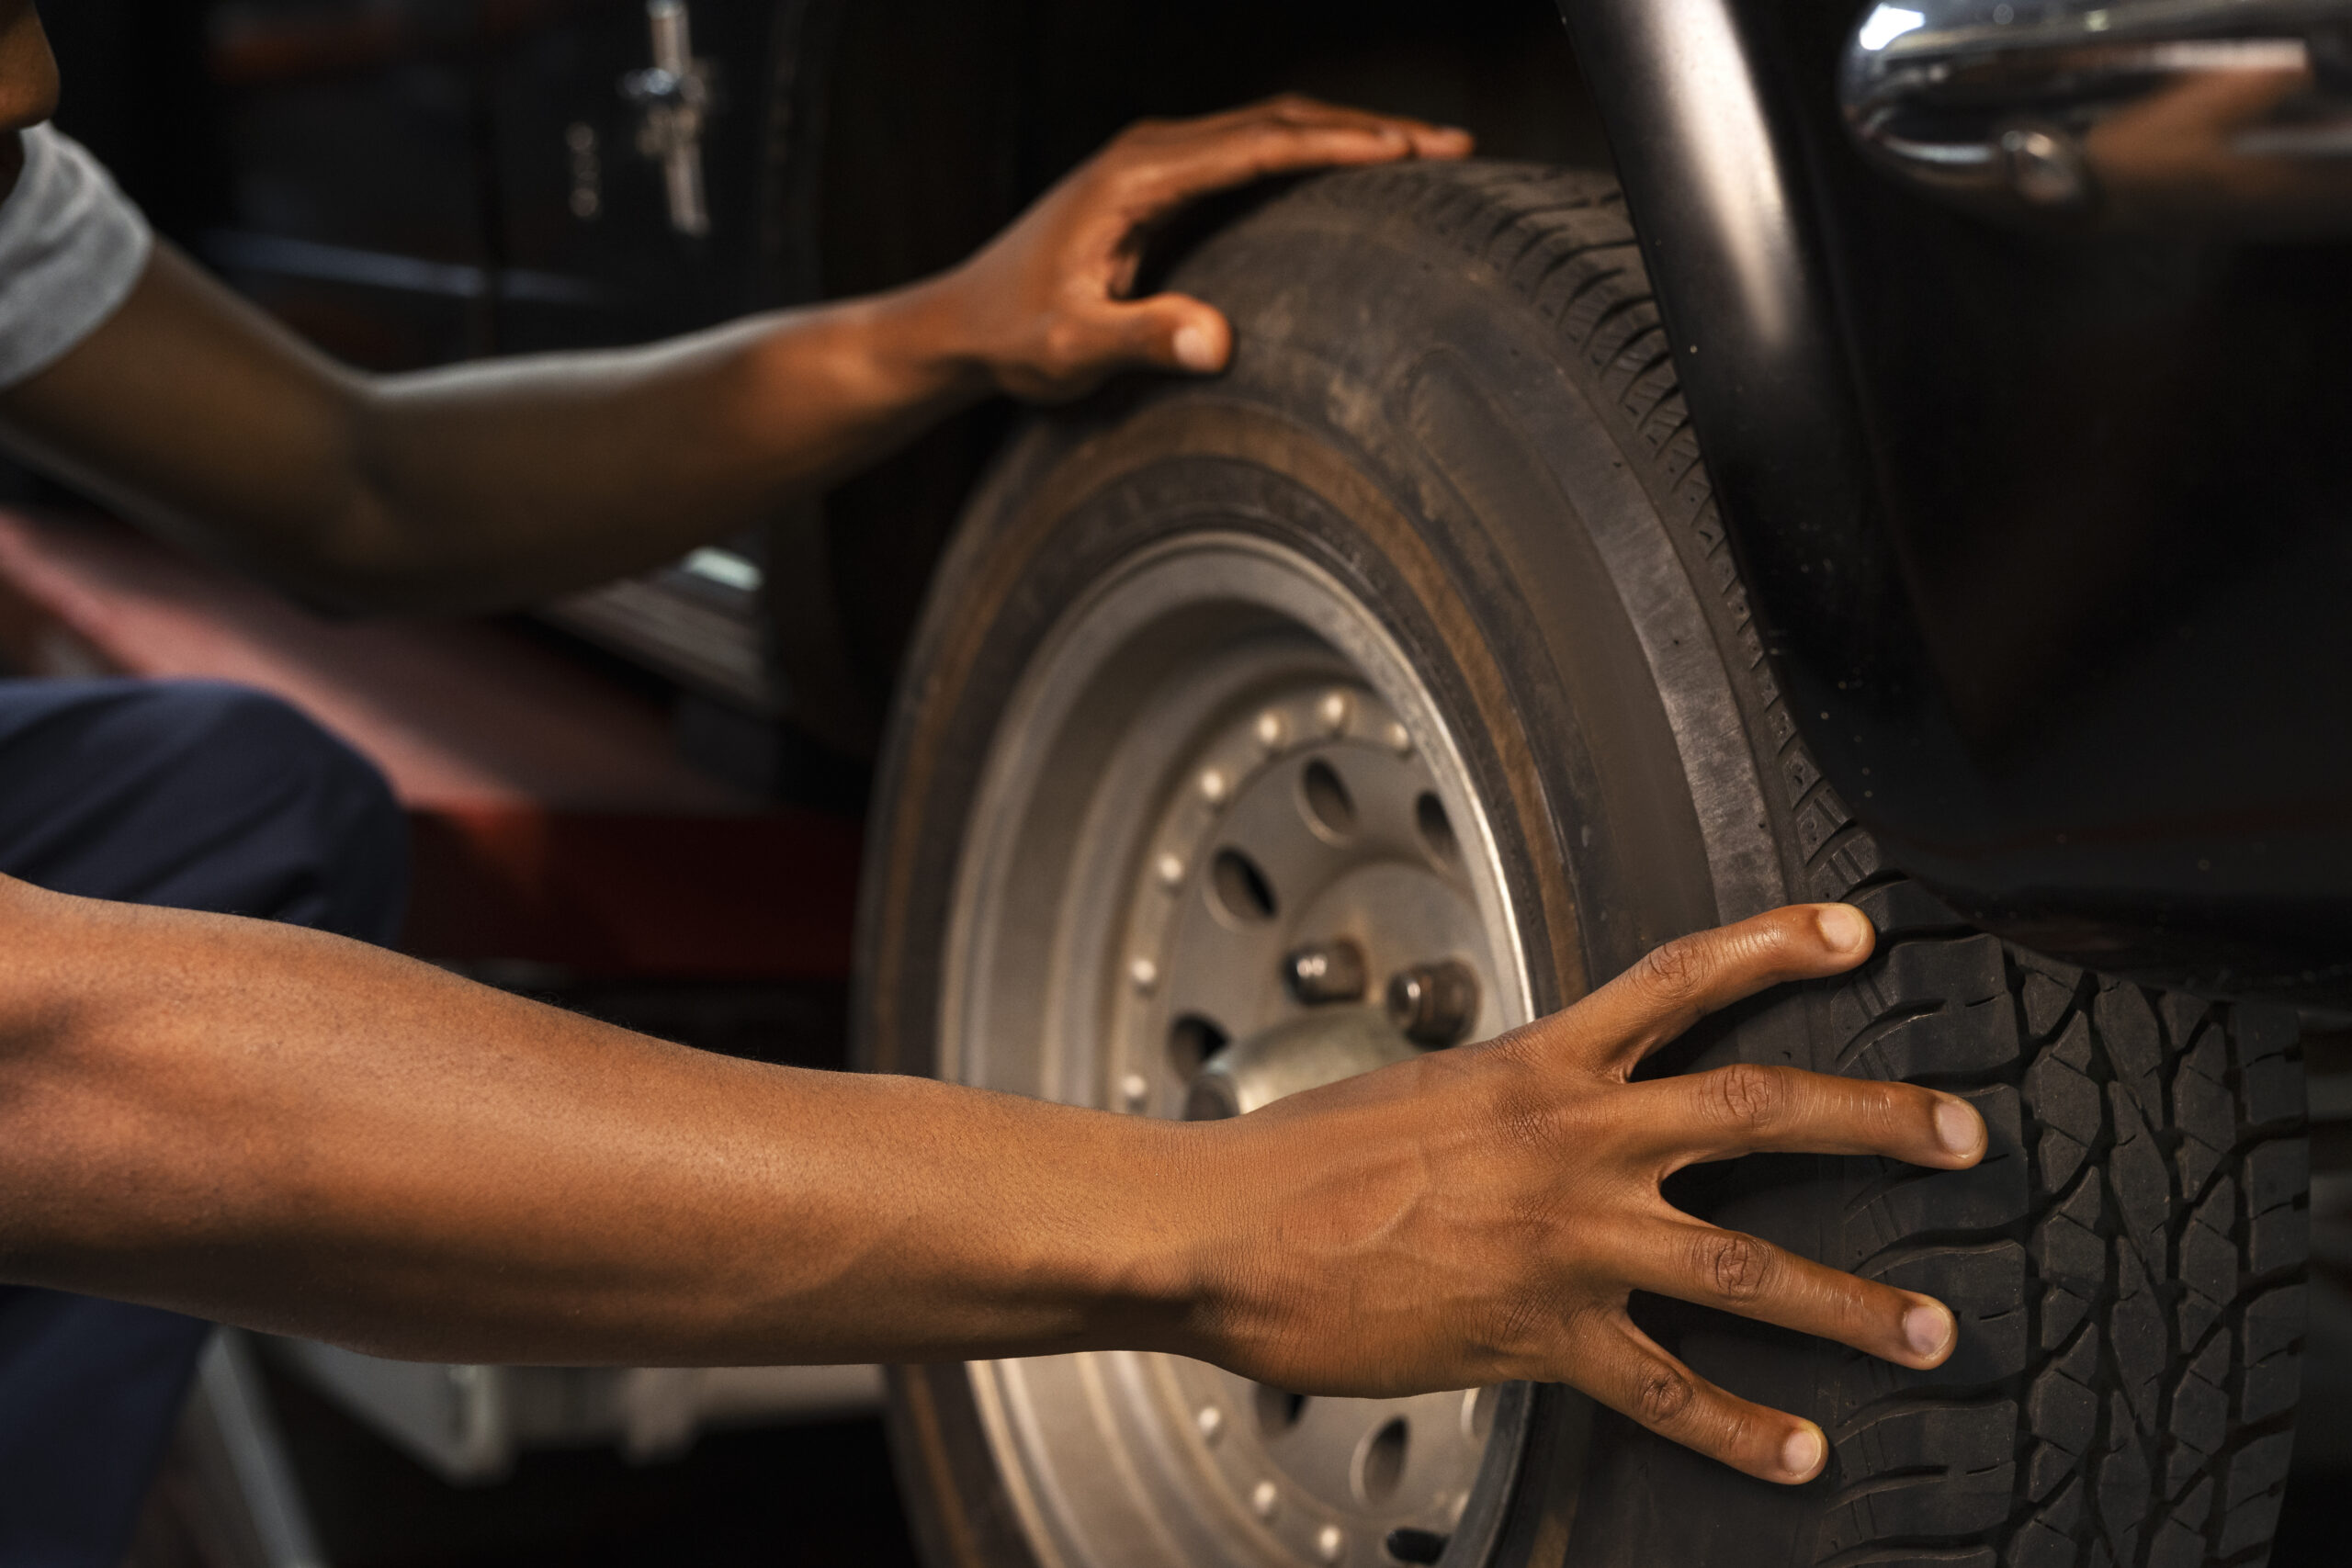
DIY Tire Replacement: A Step-by-Step Guide for Car Owners

DIY tire replacement is an excellent entry point into the world of basic car maintenance. As you become familiar with the process, you may find yourself more willing to tackle other straightforward tasks such as assessing your tire pressure. DIY helps in fostering a sense of confidence in your ability to care for your vehicle. Changing your car tires may appear to be a daunting task, but don’t worry! With the correct tools and some instruction, you can quickly become a DIY tire replacement master. This step-by-step tutorial will bring you through the procedure step by step, assuring a seamless and trouble-free experience.
I. Gathering Your Work Tools:
Before you dive into the tire-changing process, gather the necessary tools and materials. Make sure you have:
- Car jack
- Lug wrench
- Spare tire
- Tire pressure gauge
- Vehicle owner’s manual
- Wheel chocks
II. Finding a Safe Location:
Safety is paramount when changing tires. Choose a flat and stable surface away from traffic. Engage your hazard lights and apply the parking brake to secure your vehicle. Use wheel chocks to prevent any unintended movement.
III. Loosening the Lug Nuts:
Start by using the lug wrench to slightly loosen the lug nuts on the flat tire while the vehicle is still on the ground. This will make it easier to remove them when the car is lifted.
IV. Lifting the Vehicle:
Position the car jack under the vehicle according to the manufacturer’s instructions in the owner’s manual. Carefully lift the car until the flat tire is off the ground.
V. Removing the Flat Tire:
Now that the vehicle is safely lifted, use the lug wrench to fully remove the loosened lug nuts. Take the flat tire off the wheel hub and set it aside.
VI. Installing the Spare Tire:
Retrieve the spare tire and align it with the wheel bolts on the hub. Carefully push the spare tire onto the wheel hub, ensuring that it sits securely.
VII. Tightening the Lug Nuts:
Hand-tighten the lug nuts onto the wheel bolts to secure the spare tire in place. Use the lug wrench to tighten the nuts further in a crisscross pattern for even pressure.
VIII. Lowering the Vehicle:
Carefully lower the vehicle using the car jack. Once the car is back on the ground, use the lug wrench to tighten the lug nuts one more time.
IX. Checking Tire Pressure:
Before hitting the road, check the tire pressure in the newly installed spare tire. Use a tire pressure gauge to ensure it matches the recommended pressure in your owner’s manual.
Conclusion:
Congratulations! You have successfully changed your car tire. You can confidently handle flat tires on your own with the correct tools, a little patience, and our step-by-step DIY car tire replacement guide. Remember that practice makes perfect, so don’t be afraid to put this ability to the test in a safe place before you find yourself on the side of the road with a flat tire.
Best wishes!


